This week’s tutorial will be a very fun and easy way to use the clay kit. I love making little bowls and plates. I use them for jewelry on my night stand and on my desk. I am going to show you how to make them really easily using the mould technique.
What you need
- The clay kit (I am using around 100 g of clay for this demonstration), in particular:
- the clay
- the sponge
- the metal rib
- the cutter

Not included in the kit:a rolling pin, a piece of cloth (ideally linen but cotton works well too), a little bowl of water, and a mold that has the shape and size you want your final piece to have. For this post, I am using a little wooden bowl I bought a long time ago at a random store. Anything works really.
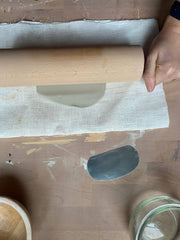
Step 1: roll the clay
Roll the clay on the piece of cloth until it’s about half a centimetre thick. Rolling it on a piece of cloth will prevent it from sticking and it will also give it a nice texture on the back.
Step 2: place the mold on the clay and cut
Place the mold you have chosen on the clay and cut around it using the cutter you found in the kit. Remove the excess clay.

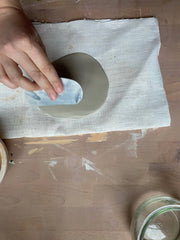
Step 3: smoothen the edges
With a wet sponge, go around the edges to smoothen then out and ensure they are even.

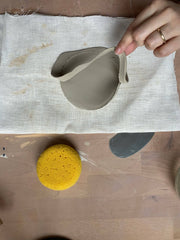
Step 4: place clay in the mold
Carefully place the clay in the mold and push it to the bottom (until you feel the bottom of the bowl with your fingers). This will be another good point to smoothen the edges a little.
Leave to dry in the mold for at least a day and then simply wiggle it out of the mold. Done!
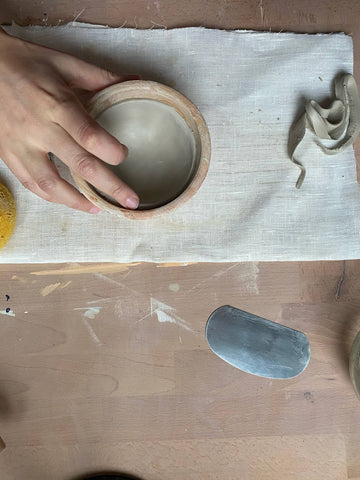
Wait another couple of days or until fully dry before decorating with acrylic paints.